

Every handcrafted gemstone begins with a simple discovery.
It might be a colorful agate found along a California beach, a piece of smoky quartz uncovered on a mountain trail, or a clear quartz crystal spotted during a weekend hike. What starts as an ordinary, dirt-covered rock can become a brilliant polished gemstone, a custom cabochon, and eventually a one-of-a-kind piece of handmade jewelry.
At Rocksmith Studio in Oakland, California, we believe every stone has a story. The journey from rough rock to finished jewelry is one of patience, craftsmanship, and creativity. Whether you're brand new to rockhounding or dreaming of making your own jewelry line, this guide walks through every step of the process.
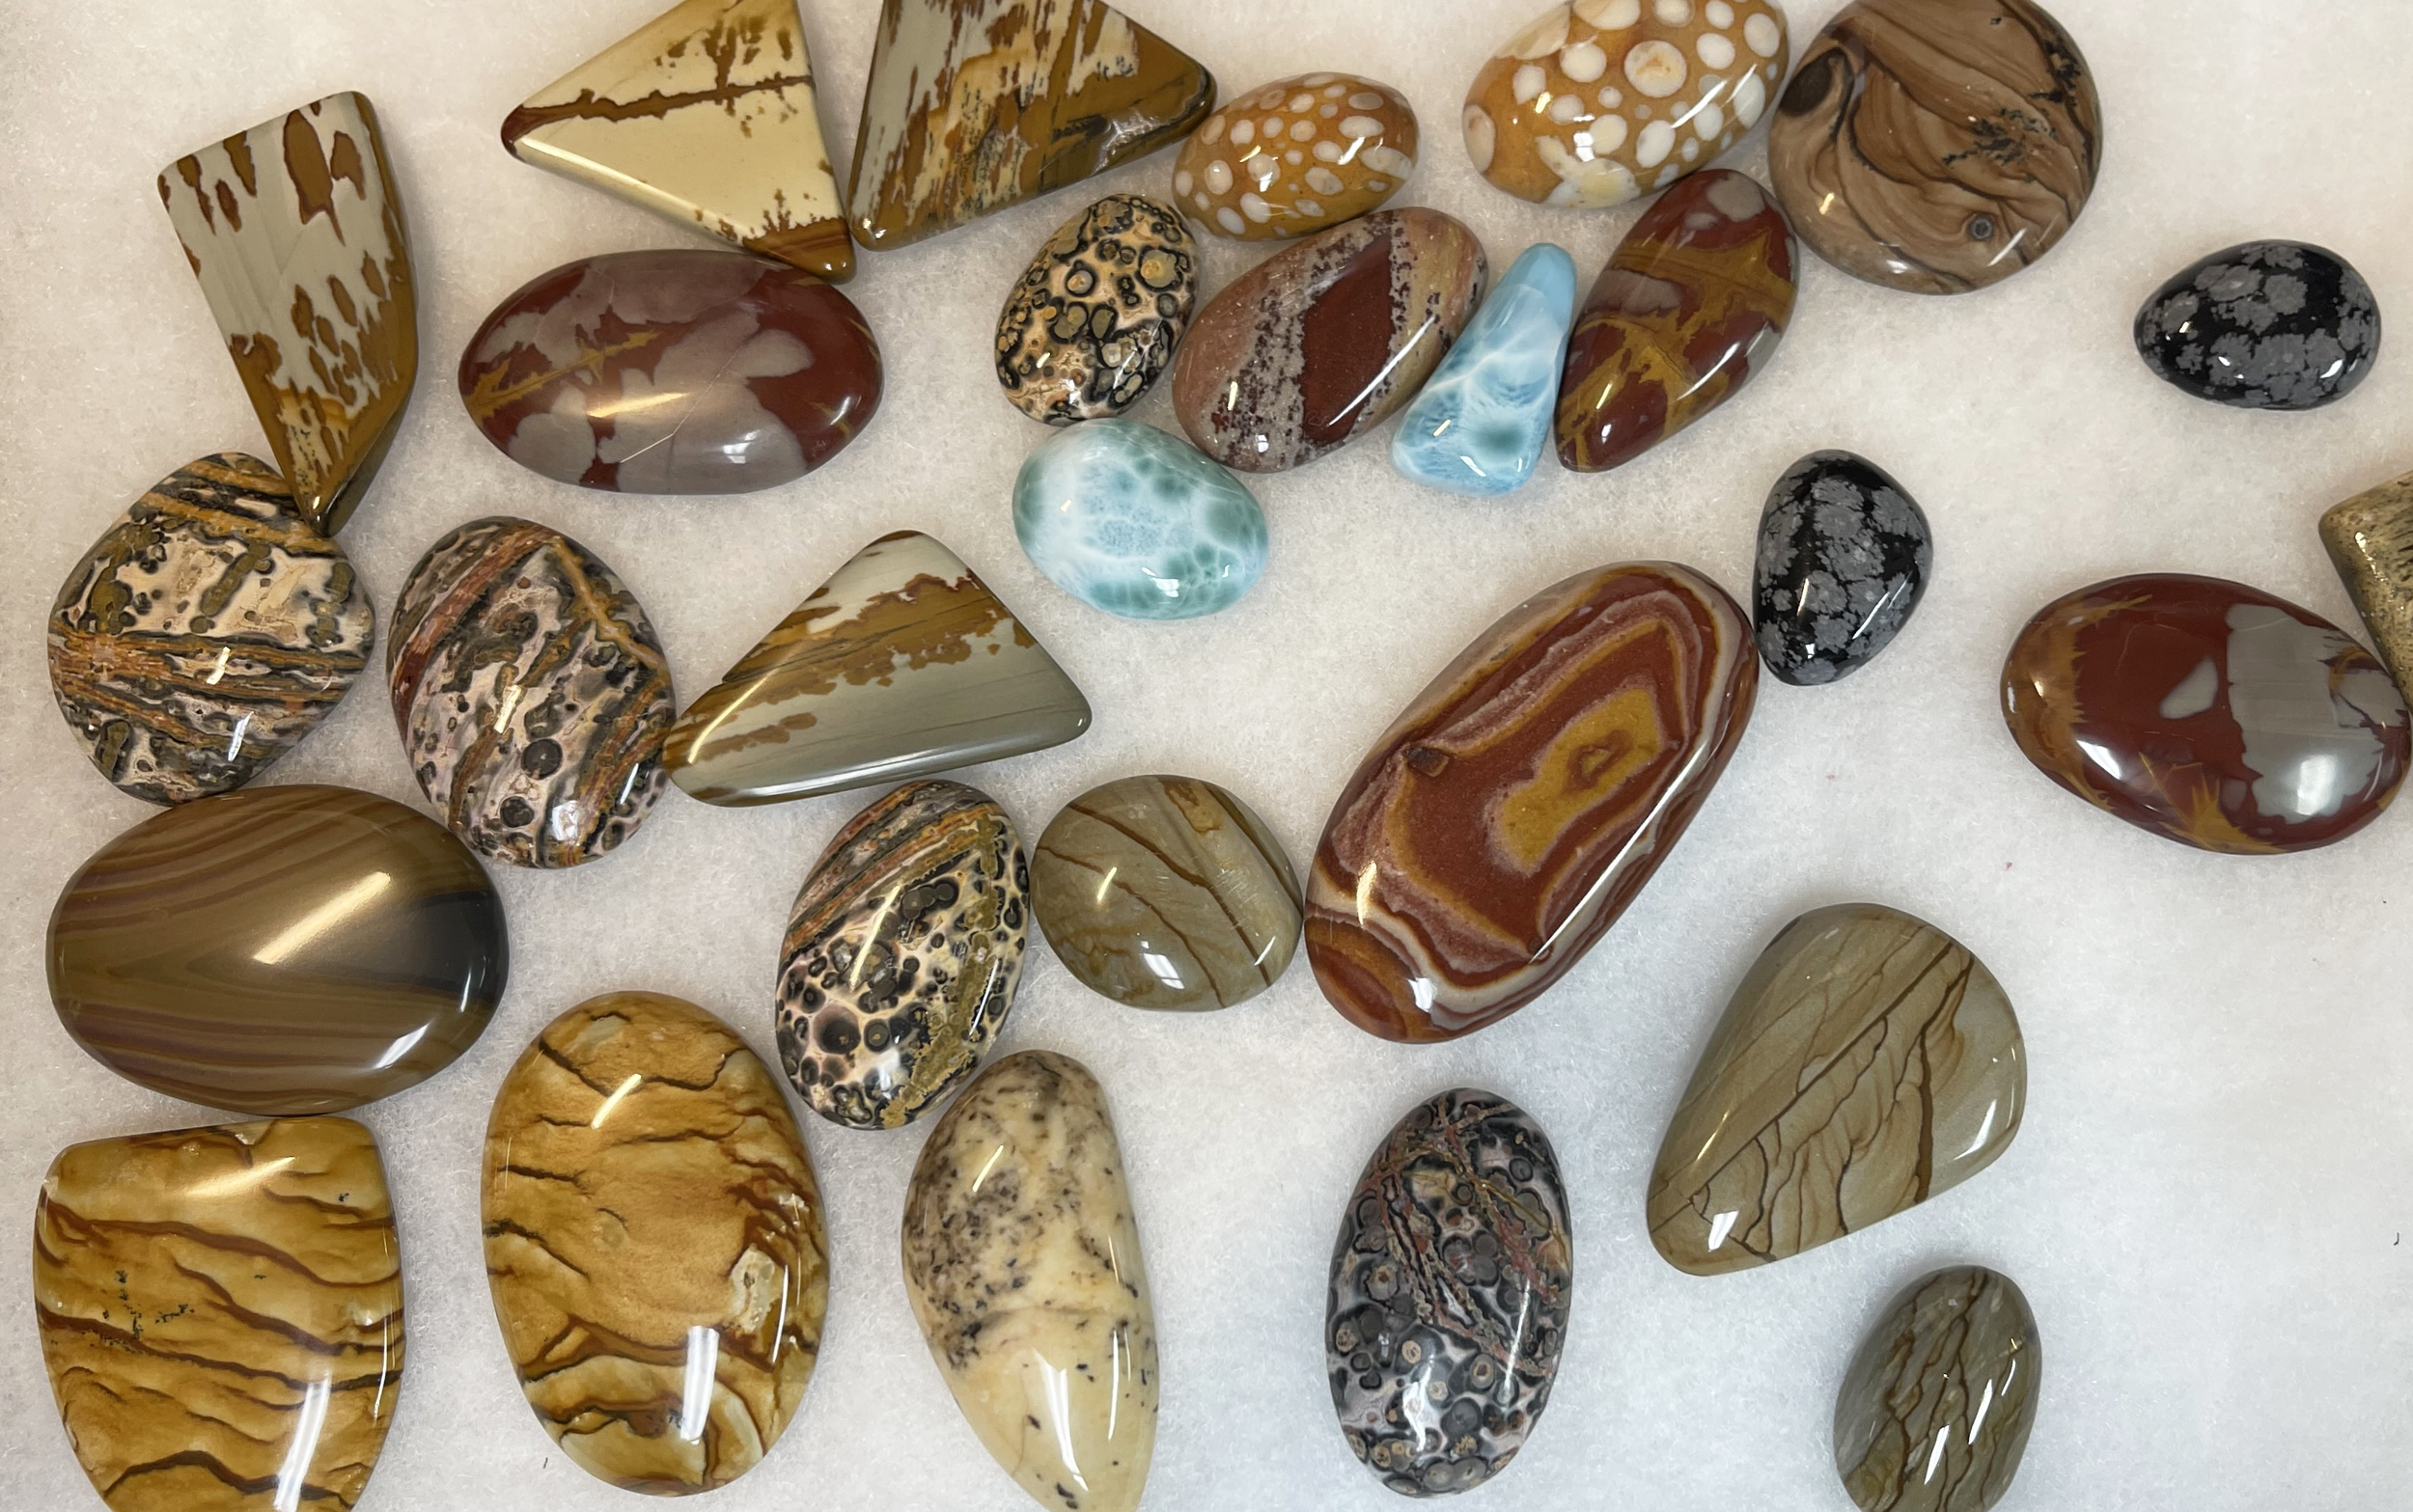
Step 1: Discover the Joy of Rockhounding
Every project starts in nature. Rockhounding is the hobby of searching for rocks, minerals, crystals, and fossils in the outdoors. It's part adventure, part geology, and part treasure hunt.
Some of the most popular beginner-friendly finds include:
-
Agate & Jasper: Known for their durability and stunning patterns.
-
The Quartz Family: Including clear quartz, smoky quartz, rose quartz, and purple amethyst.
-
Chalcedony & Petrified Wood: Beautiful crystalline or organic preservation structures.
California is one of the best places in the country for rockhounding, offering coastlines, riverbeds, mountain ranges, and deserts filled with fascinating geological treasures. As you collect, remember to respect private property, follow local regulations, and leave collecting sites cleaner than you found them.
Step 2: Learn to Identify Your Finds
Once you're home, the detective work begins. Learning to identify your stones helps you understand how they formed and how they'll respond to cutting, grinding, and polishing.
Pay close attention to these key physical characteristics:
-
Color & Banding: Look for layers, color zoning, or matrix lines.
-
Crystal Structure: Examine if the mineral grows in geometric columns, massive chunks, or tiny sparkling clusters.
-
Transparency: Is it completely opaque, translucent when held to the light, or water-clear?
-
Hardness: Knowing where your stone sits on the Mohs hardness scale ensures you treat it correctly during fabrication.
Step 3: Clean Your Rocks
Freshly collected stones are often heavily obscured by dirt, caked mud, clay, or iron staining.
Start with a simple bath of clean water, mild dish soap, and a soft-bristled brush. Avoid using harsh chemicals or acids unless you are 100% certain of the mineral's composition, as some softer minerals can be permanently damaged or dissolved by aggressive cleaners. Once clean, you'll finally begin to see the true colors and patterns hidden beneath the surface.
Step 4: Decide Your Goal
Not every rock needs to be altered. Before firing up any machinery, evaluate your find and ask yourself:
-
Do I want to leave it raw as a natural display specimen?
-
Should I toss it in a rotary barrel to tumble it?
-
Would it make a beautiful flat-backed cabochon?
-
Is it better left as a dramatic focal piece?
Highly dramatic mineral formations are often most spectacular when kept in their organic state. For instance, rather than cutting up a pristine cluster, a collector might display an Amethyst Geode on a Metal Stand or showcase a beautifully sculpted Blue Sodalite Crystal Point Tower to let the mineral's natural architecture shine.
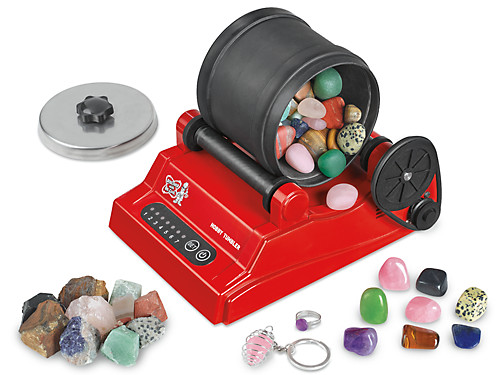
Step 5: Begin Lapidary Work
If your goal is to turn your rough find into an intentional piece of jewelry, lapidary work is the next phase. Lapidary artists use diamond-tipped saws and grinding wheels to cut, grind, and shape individual stones into custom geometries.
Popular beginner-friendly projects include:
-
Oval Cabochons: Flat-backed stones with smooth, domed tops—the standard for custom rings and pendants.
-
Teardrop or Pear Shapes: Elegant silhouettes that look incredible hanging from chains or earrings.
-
Freeform Cutting: Following the natural contours of the stone to minimize waste and highlight unusual patterns.
Unlike automated rock tumbling, hands-on lapidary work gives you complete creative control. It allows you to frame specific design elements, unique color bands, or trapped matrix webbing directly within the stone, ensuring every single piece becomes a true one-of-a-kind treasure.

Step 6: Sand and Polish
Beautiful, professional-grade gemstones aren't created overnight on a single wheel. A glass-like luster is achieved by gradually working your stone through finer and finer grits of diamond sanding wheels, washing away the deep scratches left by the previous steps.
Patience is everything during this stage. The final polishing compound—whether you use cerium oxide, aluminum oxide, or diamond paste—is what finally unlocks the stone's inner brilliance. Watching a once-dull, mud-caked river rock transform into a vibrant, highly reflective gemstone is easily one of the most rewarding moments of the entire process.
Step 7: Design and Choose Your Jewelry Technique
Now, the metalsmithing and artistic process begins. The unique shape, color depth, and visual weight of your finished gemstone will naturally inspire the final jewelry design.
There are several highly accessible ways to turn polished stones or raw crystal points into wearable art:
Minimalist Metal Settings
If you have cut a traditional flat-backed cabochon, setting it into solid precious metals is a classic option. For inspiration, consider how a wide band balances a heavy stone in our Men's Turquoise Split-Band Statement Ring, or how detailed bezel frameworks can elevate a focal gem, like the intricate work on our Turquoise Sterling Silver Flower-Base Ring. If your stone has a softer, serene hue, a delicate design like our Aquamarine Sterling Silver Twisted Ring highlights the gem's color play perfectly.
Wire Wrapping and Electroplating
For raw crystal points or uniquely shaped freeform stones, wire wrapping with sterling silver, copper, or gold-filled wire offers endless creative freedom. This technique securely holds the stone without needing a traditional jewelry torch. Many jewelry makers also use pre-plated components or bails to elegantly suspend their stones, creating stunning everyday styles like:
-
A polished Citrine Crystal Faceted Point Pendant
-
A highly detailed Dreamcatcher Citrine Point Pendant
-
An elegant, structured Pink Banded Calcite Point Pendant
[Raw Rock Found on Trail] ➔ [Cleaned & Identified] ➔ [Cut & Polished Cabochon] ➔ [Handmade Wire Wrap or Bezel Setting] ➔ [Wearable Art]
Step 8: Share Your Story
One of the most meaningful aspects of handmade artisan jewelry is the story woven into the piece. Anyone can walk into a department store and buy a mass-produced, factory-cut gemstone. However, wearing a custom ring or a structured Quartz Crystal Point Adjustable Ring that honors the organic geometry of nature carries a completely different energy.
Imagine wearing a pendant made from a stone you discovered on a remote beach, or gifting a necklace crafted from quartz you personally collected, cut, and polished. The history, the location, and your hard work become an invisible, permanent part of the jewelry—something a factory machine can never replicate.
Frequently Asked Questions
Can real beginners make their own gemstone jewelry? Absolutely! Many people begin simply by surface-collecting rocks on hikes, learning the basics of rock tumbling, and gradually transitioning into specialized lapidary and metalsmithing as their curiosity grows.
Do I need to buy expensive studio equipment right away? Not at all. The absolute best way to start is to search for a local Mineral, Rock, or Lapidary Club in your town or county. These non-profit clubs feature fully equipped workshops packed with diamond saws, cabbing wheels, and casting equipment that members can use for a tiny fee. Better yet, they are full of experienced rockhounders and seasoned jewelers who are thrilled to mentor beginners.

Nature to Necklace
The journey from a rough stone on a trail to a polished piece of wearable art is an incredibly grounding experience. Every single step—spotting a glint of quartz in the dirt, shaping a perfect dome on the grinding wheels, or wrapping a finished pendant—connects you more deeply to the ancient history of our planet and the joy of manual craftsmanship.
At Rocksmith Studio, we are constantly inspired by California's diverse landscapes, the heritage of lapidary arts, and the unique stories that every crystal carries—whether it's a massive raw cluster or a polished Angelite Puffy Heart Carving. Remember that every master jeweler started out with a single regular rock and a healthy dose of curiosity.
Get outside, keep your eyes on the ground, and happy hunting!
0 comments